68kMLA Classic Interface
This is a version of the 68kMLA forums for viewing on your favorite old mac. Visitors on modern platforms may prefer the main site.
| Click here to select a new forum. | |
| Restoring an Apple IIc | |
| Posted by: Irinikus on 2025-08-16 00:33:09 I've just purchased this complete Apple IIc: (It's a complete working system!) 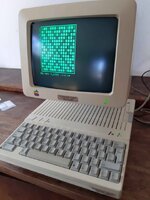 Here's the complete system: (It's in very good condition, but will need a thorough cleaning and a retrobright) 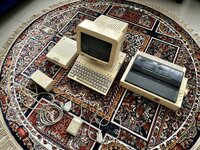 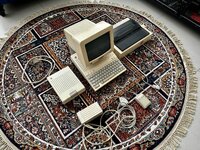  It came with all of its manuals and this selection of software: 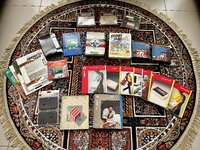 I have enough Hydrogen Peroxide left over from my last retrobright to do one of the components of this system. I’ve chosen the external drive, as I have clear plastic containers which will fit it. Here’s what it looks like dismantled! It was a breeze to dismantle! 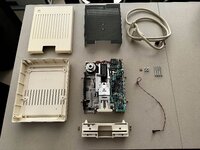 This unit was surprisingly clean on the inside! 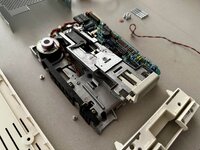 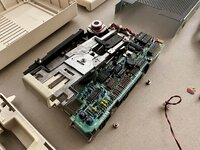 Here’s the disassembled mouse: 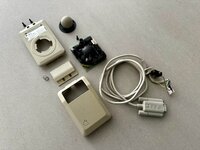 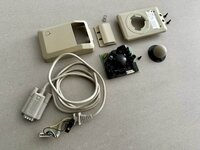 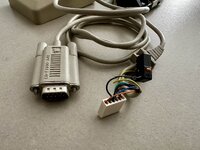 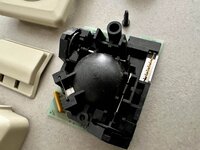 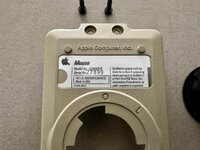 Here we go!!!  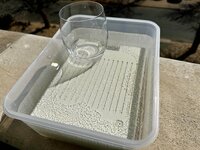 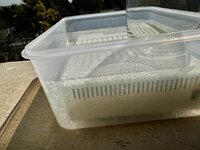 And we’re done! I placed the untreated computer next to it to show the difference! 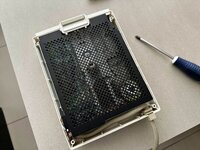 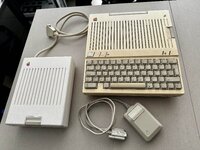 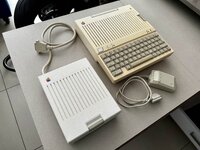 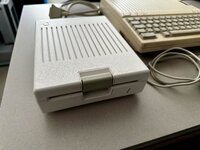 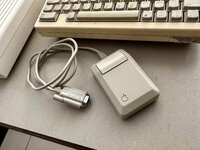 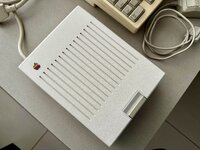 The little monitor’s going to get it next!!! 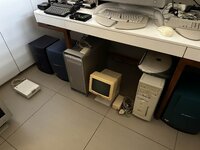 For now I’ve disassembled the “Little Monitor” and given all of the plastics a good cleaning. So it’s ready for retrobrighting. I just need to order allot more Hydrogen Peroxide and clear containers deep enough to allow for it to be completely submerged. 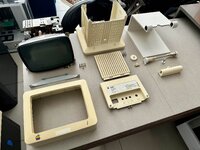 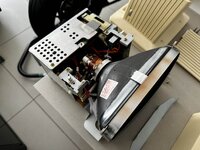 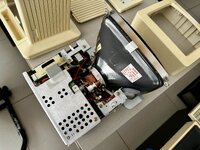 I managed to purchase the necessary clear containers to fit the rest of the system! 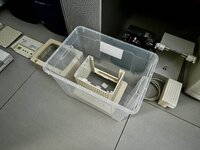 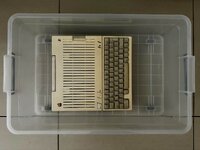 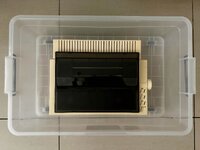 I'll need 160ml of Hydrogen Peroxide 50% to get each litre of Hydrogen Peroxide 8%. So I have plenty of this stuff (7.5 litres of 50%!!!)  I can make just short of 47 litres of Hydrogen Peroxide 8%!!! The bottle from my last batch of Hydrogen Peroxide will work perfectly as a displacement body to reduce the amount of Hydrogen Peroxide I’ll need to submerge the monitor's rear plastic! 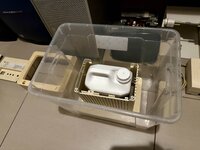 And We’re OFF To The RACES!!! I coudn't remove the Apple badge from this with out damageing it, as it was too well stuck in place, so I'm risking it, as if it gets destroyed I'll order a "New" one from this site: https://maceffects.com/products/rebubris...-iic-badge 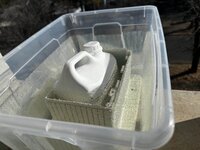 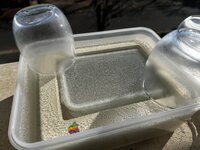  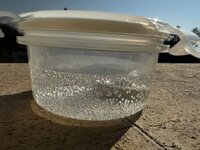 It’s back in one piece, and looks pretty darn good!!! (The Apple Badge was bleached a bit and will need to be replaced later on! I’ll just complete the whole machine first, as I may need to order three of them, if I can’t safely remove the others off the printer and computer itself! They’re all the same size.) 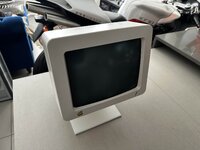 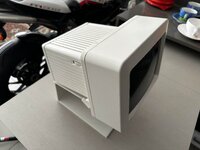 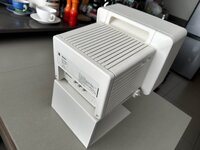 I’ve been away for the last two weeks, but this evening I got around to dismantling the Apple IIC, which I have to admit was a little bit more tricky than I expected it to be! Here are some photos that I took while dismantling it: 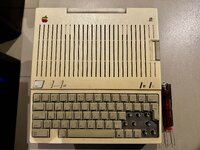 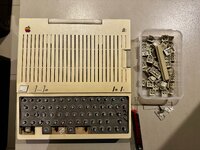 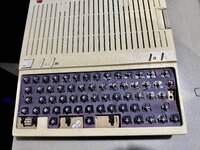 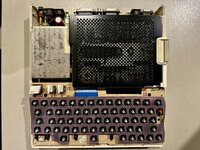 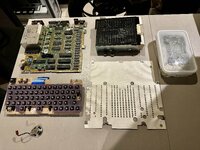 It unfortunately has the crappy Apple switches, but I’ll take on the challenge of lubricating and fixing them up! The plastics have undergone their first stage of cleaning, but will take quite a bit of time to get as clean as they need to be for retrobright! They are starting to clean up well, so I’m happy! Here’s where I am with the plastics: (I’ll spend tomorrow afternoon finishing up so that I can hopefully retrobright on Saturday)    It turns out that the only key that will need retrobright is the space bar! I can’t remove the Apple logo, but this time I’ve opted to cover it with clear tape to protect it from the Hydrogen Peroxide:  I've lubricated the switches with some Q20, and they're feeling 95% better! 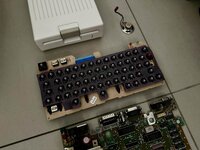 Here we go again!  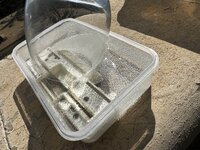 | |
| Posted by: Irinikus on 2025-08-16 00:44:35 I’m attempting the “vapour technique “ on the power supply. (I’ve wrapped up the chord and have placed it in a sealed container with another container inside containing 50% Hydrogen Peroxide.) 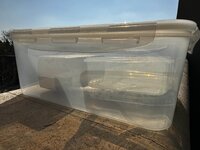 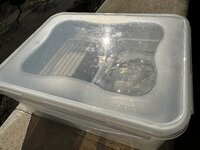 This is purely an experiment! (to see if O(-2) with sunlight will do the trick?) (edited) Here’s what it looks like after today’s work, compared to how it looked before: 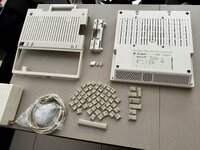 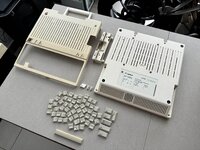 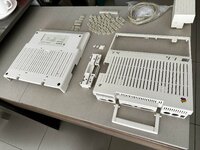 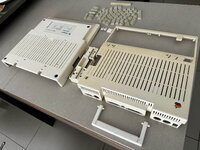 I just put the computer plastics next to the external disk drive and they match pretty well: 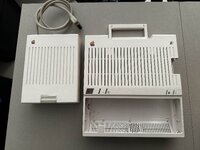 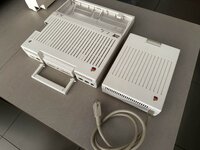 Here it is with the “Little Monitor”! (It’s a fine line to overdoing things!) 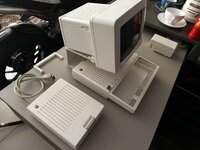 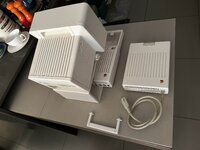 The initial test before refitting the plastics: 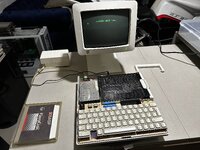 I'm happy to report that both the internal and external drives work! 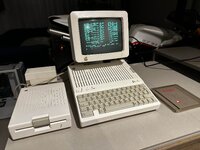 The last stretch for now! 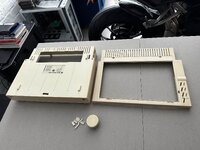 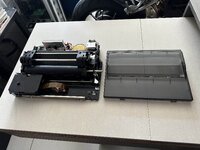 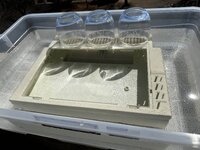  And it's done! 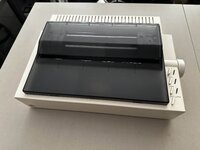 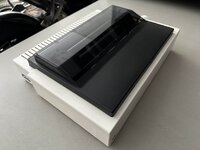 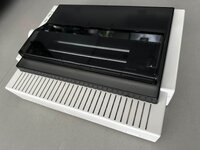 | |
| Posted by: Irinikus on 2025-08-16 00:47:18 The most remarkable thing here is that the “indirect method” that I’ve been using on the power supply brick has worked well! (I think one or two more treatments will do it!) 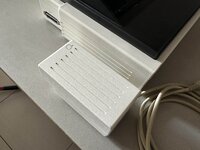 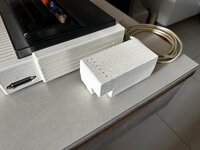 Hopefully this is the last stretch for the Power Supply Brick! 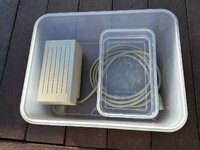 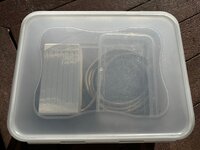 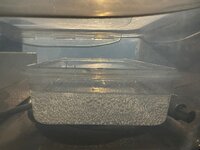 | |
| Posted by: Irinikus on 2025-08-16 00:51:07 The final before and after shots: 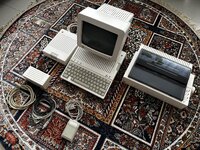  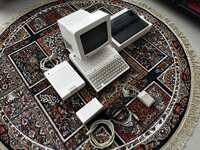  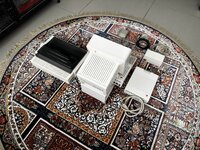 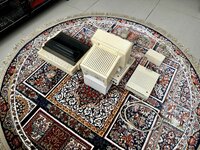 And here she now sits: 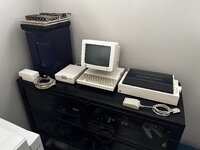 | |
| Posted by: stepleton on 2025-08-16 02:47:41 Just writing to say kudos for this excellent documentation of your work: the pictures are very nice. If you document your keyboard cleaning just as well, I may have some hope of replicating your results on my own //c. | |
| Posted by: Snial on 2025-08-16 05:36:45 A very thorough job and impressive results! I too have an Apple //c I picked up for free around 1998, it's not as white as that, but maybe not as yellow as many! I did notice the ZX Spectrum with Interface 1 and a Microdrive! 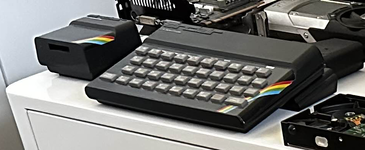 For those not in the know, the Sinclair Microdrive was a soft-sectored, tape-loop thing using video-tape quality tape. It was cheap (just £50/drive), but it stored only 85kB per cartridge and whizzing the tape through the mechanism would fairly quickly wear it out. Surprisingly, I still have many that still work! | |
| Posted by: bibilit on 2025-08-16 08:50:21 Nice work, I don’t retrobright anymore. I have some yellowing coming back, and some marble effect also, and plastic looks more fragile after. A very nice setup. | |
Posted by: Irinikus on 2025-08-16 10:04:15Nice work, I don’t retrobright anymore. Thans! 🙂 What method did you use? (I would not suggest using the cling wrap method, as that can very easily lead to streaking or marbling! This process it like cooking - you need to pay carefully attention throughout the process.) One of the most important parts of the process is to ensure that the plastics are as clean as they can be before you retrobright. (This will also help to prevent marbling.) I personally haven't found retrobright to do any serious damage to the plastics. The surface texture of the plastic has remained the same, and items such as the adjustable keyboard have very fine plastic clips which did nit become brittle as a result of this process. I don't allow any direct Sunlight into my home, and my home also doesn't become very warm, so this will be a good test case for the retrobright process and its longevity. If you subject the plastics to the same environmental conditions which yellowed them in the first place, then they'll surely begin to yellow again. | |
| Posted by: bibilit on 2025-08-16 12:42:23 I used the very same method, but I probably don’t have the same sun exposure. | |
Posted by: Irinikus on 2025-08-16 22:48:01I used the very same method, but I probably don’t have the same sun exposure.We have good sunlight down here! However in the future I plan to do some experimentation, especially with the "indirect method" as it seems to work pretty well, and with some optimisation may end up working extremely well. | |
| Posted by: Byrd on 2025-08-17 02:17:05 You've had quite a busy weekend - nice work on this too. Like you I'd only ever trust the water immersion + H2O2 + lots of beating Aussie summer sun for lightening ABS plastics. Never understood why people did the film/wrap method as it will be patchy. | |
| Posted by: Arbee on 2025-08-19 09:15:18 That must've been a very early setup originally. You don't see many IIcs with the "proper" IIc styled external drive, and you definitely don't see many with a printer that's not an ImageWriter II. | |
Posted by: bibilit on 2025-08-20 01:54:14with the "proper" IIc styled external drive What do you mean ? always seen the IIc with this external drive. Do you mean any aftermarket unit ? | |
| Posted by: Arbee on 2025-08-25 13:08:58 IIcs I've seen have mostly been with the chunkier UniDisk 5.25 drive that went with later production IIes and the IIgs. | |
| Posted by: bibilit on 2025-08-27 23:34:57 Yes, ok, yes this is basically more or less the same unit, with a different board and a different enclosure and size. | |
| 1 |