68kMLA Classic Interface
This is a version of the 68kMLA forums for viewing on your favorite old mac. Visitors on modern platforms may prefer the main site.
| Click here to select a new forum. | |
| Macintosh SE M5010 - Restoration | |
| Posted by: GreenBar0n on 2024-11-29 16:31:06 Got the bottom half of the M0115 whitened today, 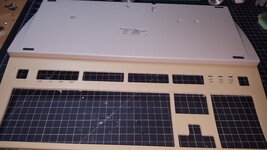 Just need to whiten the top half.  The M0115 I did a while back. 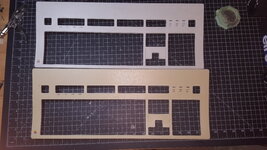 But I burned through the badge again, before I knew it was happening. 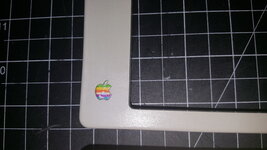 The newly acquired badge is perfect still. 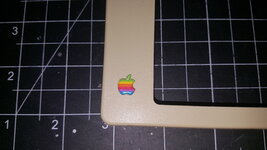 The problem is I can't get the badge to pop out of either of these KB's. The already whitened top doesn't even have access to the hole behind the badge: 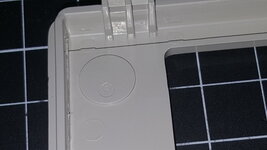 The new one feels like I'm going to push the pin too hard and deform the badge. 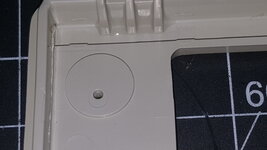 The front bezel badge was easy, these are not. Is there any chance I can ruin the badge, by forcing it out of there? | |
| Posted by: joshc on 2024-11-29 20:48:49 Sometimes more force is needed, I've never damaged a badge but anything is possible. | |
Posted by: jmacz on 2024-11-29 22:49:02Sometimes more force is needed, I've never damaged a badge but anything is possible. I have divoted a badge.. be careful. One thing you could try is using a hair dryer to warm up the badge a little to loosen the glue? But make sure you don't get it hot to the point where the plastic deforms, need to be careful with that too. | |
| Posted by: GreenBar0n on 2024-11-30 14:03:06 The little KB badge is pretty fragile, I think I put a pin head poke in it, not too bad. Used this flow station on the lowest setting and far away enough to heat the rear up. 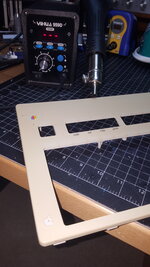 Now I can get the peroxide creme on uniformly, and be done with these KB's. Thanks guys! | |
| Posted by: Fred1212 on 2024-11-30 14:27:47 Nice | |
| Posted by: GreenBar0n on 2024-11-30 21:41:29 The Hakko FR-301 made removing the 90° 50-pin connector easy, once again. 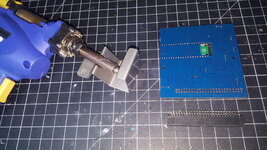 Straight 50-pin box header installed. 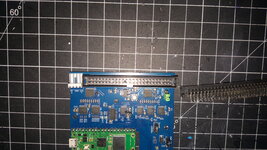 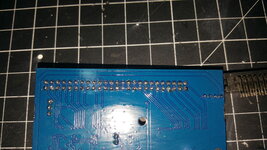 Cable fits without touching the top floppy now. 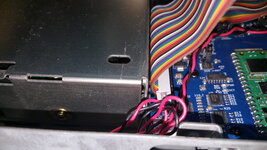 3D printed tray fits well as a result.  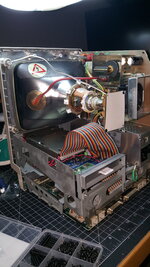 Put the stock fan back in as it seemed the Noctua would never get here. Got an email today saying the Noctua will be here next week finally. Can't put the cover back on just yet. | |
| Posted by: GreenBar0n on 2024-12-06 16:39:06 M0115 completed. 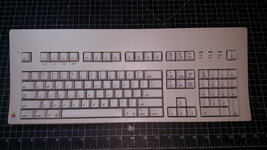 Used a cardboard box with aluminum foil inside, with an inexpensive 10W UV LED, the results are so much better than trying to do this outdoors. 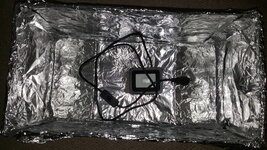 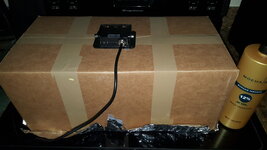 Put the front bezel in there for two hours now, it should be more even and match the KB when it's done. 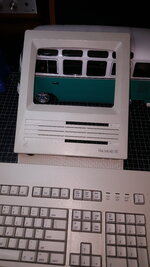 Got the Noctua fan. 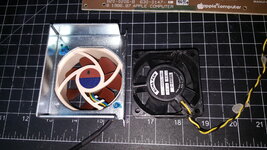 Mine didn't come with the large molex connector, to plug this into the old HDD connector. 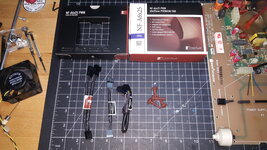 Had to instead cut off the 4-pin end, to use the yellow and black 12V motor wires, and heatshrink the blue and green wires. 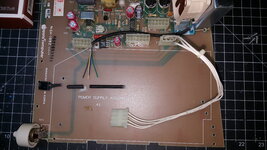 Not much room back there. 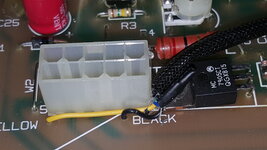 Soldered in. 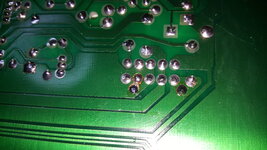 Factory style clear hot glue to hold the wires. 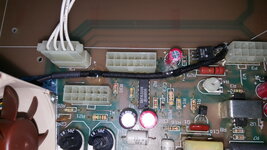 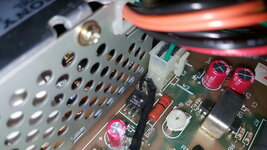 Analog Board now 100% restored.  The front bezel has a few more hours under the UV LED, and then this will go back together for testing. | |
| Posted by: GreenBar0n on 2024-12-06 21:00:14 Noctua fan is really quiet, and has great flow. Worth the peace of mind. 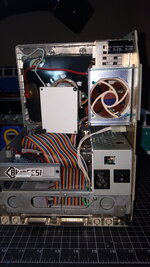  The 12% peroxide hair creme, and 10W UV LED worked really well on this project, thanks again for the hair creme tip @Fred1212! Before:   Today:  Works like new.  This restoration is now 100% completed. Thanks for following along! | |
| Posted by: Fred1212 on 2024-12-11 15:42:19 Great job. Where did you source your replacement fan? Cheers | |
| Posted by: GreenBar0n on 2024-12-12 12:06:12 Much thanks! I was finally able to get the Noctua fan from Amazon, for $15, it took about a month to get here, but it looks like they're fully stocked atm. Have to be sure to get the 12V model. | |
| Posted by: Fred1212 on 2024-12-12 21:14:51 Cheers for that | |
| < 7 |